Setting up Google Tag Manager Account and adding tags to Containers
Google Tag Manager (GTM) is a Tag Management System. It allows us to add (and manage) tags to our website, without editing the code of our website.
In laymen terms, we just add Google Tag Manager tag in our website and no other code. All other tags, be it for measurement or marketing, will now be added to Google Tag Manager and not directly to our website.
This helps us keep our website code clean and we need not edit our code every time we need to add tag of any service.
This is what I do. I only add my Google Tag Manager tag in my site. I manage all other tags (e.g. Google Analytics tag, Facebook pixels etc.) through google tag manager only. It’s more clean and easier to manage.
This is what we are going to cover in this article.
Table of Contents
- Setting up Google Tag Manager Account
- Making our Container
- Adding Tags to our Container
Now, let’s start with the first step of setting up our Google Tag Manager Account.
Setting up Google Tag Manager Account
Sign in to Google Tag Manager using your Gmail id.
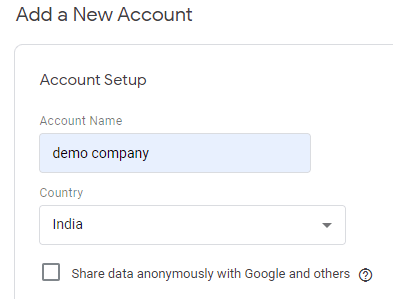
Now Create Account. Enter your Account name and Country name.
Making Container
You will also have to setup your first Container (for your Website or App) as soon as you set up your Google Tag Manager account.
But we can also add more containers in our account later on. To do so:
- Go to ‘All accounts’ (i.e. Go to Home). For this, you just need to click the arrow beside the Tag Manager icon (at the top-left).

 Note
NoteYou may also do so by going to Admin.
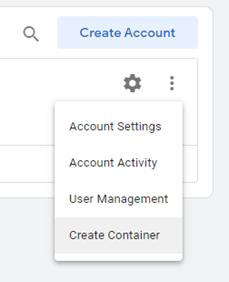
- Create container from 3 dots dropdown.
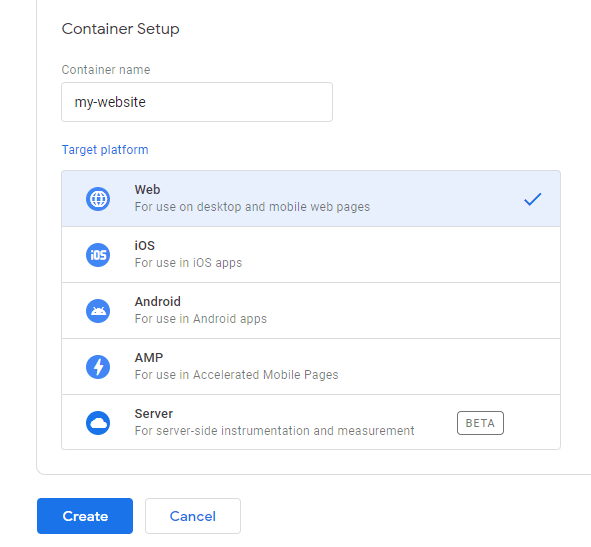
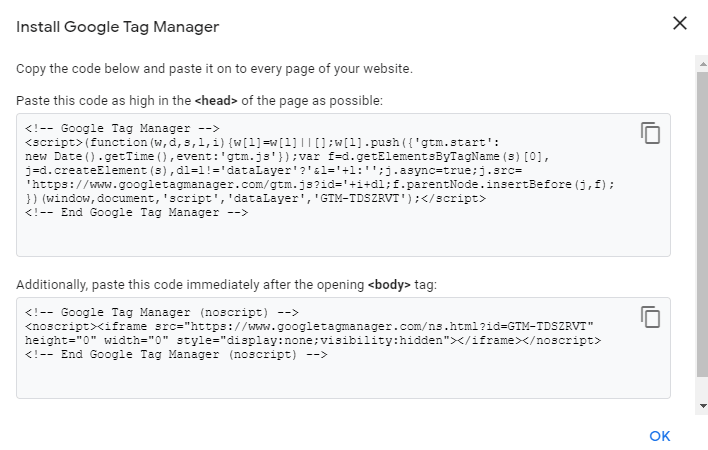
Once you create the container, you will get two codes:
- Script code – to be put in header/head of your website. In my HUGO sites I just use this.
- Non-script code – to be put in body. It will be used if the browser of the user has JavaScript disabled, i.e. the code in script does not work. It’s kind of a backup. You may choose not to put it in your website. I did not put it on my website and still everything worked fine.
If you want to learn how to add Google Tag Manager tag in your HUGO site, go and read this article.
The focus of this current article is only on setting up of Google Tag Manager Account and our Containers therein.
Adding Tags to our Container
We can add tags of many different services to the container of our website in Google Tag Manager. But here we will just demonstrate this by adding the tag of Google Analytics.
Before doing so, setup Google Analytics account for your website and get your Google Analytics Measurement id.
Go to:
Tags → New
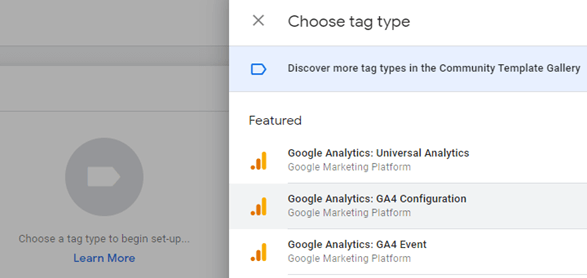
Choose Google Analytics GA4 configuration (now this is default in google analytics; earlier it used to be Universal Analytics):
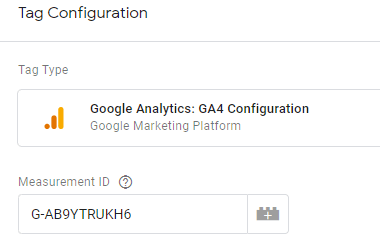
Add the measurement id, give a proper name to the tag and save:
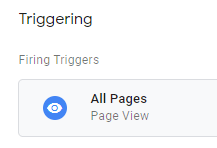
Now add a trigger to this tag. For example, I selected All Pages.
You have successfully added the Google Analytics tag to Google Tag Manager Container of your website.
Now do not forget to ‘Submit’ your Container. Many a times people forget this step. This button is on the top-right corner.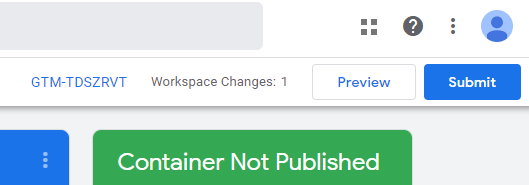
Add Version Name and Version description and Publish.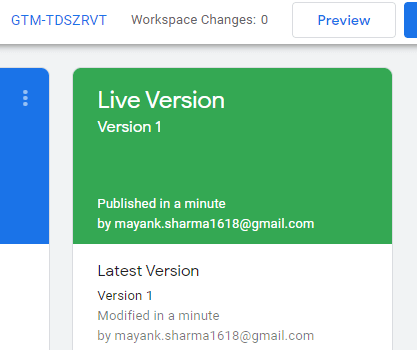
You have successfully published your website container with Google Analytics tag inside it.
Winding Up
So, we have set up the container for our website and added Google Analytics tag to it, that will trigger whenever anyone visits the pages of our site. But there’s one step left.
We need to link our website to Google Tag Manager by adding its tag/code to our website. How to add Google Tag Manager to your HUGO website has been covered in this article.
